用Portainer安装Jellyfin媒体服务器(升级篇)
如果前面硬件转码已经起作用,这一步的升级是非必须的,老苏只是想看看升级后会不会有什么变化而已,比如让 Jellyfin 支持 Intel Quick Sync ,据说 Intel Quick Sync 提供了更好的转码性能,可能帧率会提高几倍?
前言
折腾 Intel Quick Sync 最好用 linuxserver/jellyfin 而不是官方的 jellyfin/jellyfin,主要原因:
linuxserver/jellyfin基于ubuntu(focal),而jellyfin/jellyfin基于debian(buster);linuxserver/jellyfin已经配置好源,可以直接通过命令行升级最新版本;linuxserver/jellyfin遇到问题比较容易找到解决方案,毕竟折腾的人多;
老苏继续使用官方的镜像不是因为固执,只是为了研究
进入容器
老苏目前安装的 latest 版对应的 Jellyfin 的版本是 10.7.7
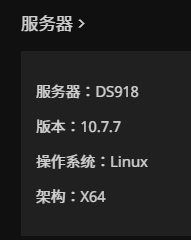
接下来的操作将在容器内进行,进入容器的方法一般是通过 SSH 客户端执行下面的命令
1 | # 进入容器名称为 jellyfin 的内部操作 |
但既然都已经用了 portainer ,就没必要了再用 SSH 客户端了,因为 portainer 具备和群晖 终端机 一样的功能,而且比 终端机 更好用
在 Containers 中 Quick actions 下面找到 >_

点击后进入 Container console
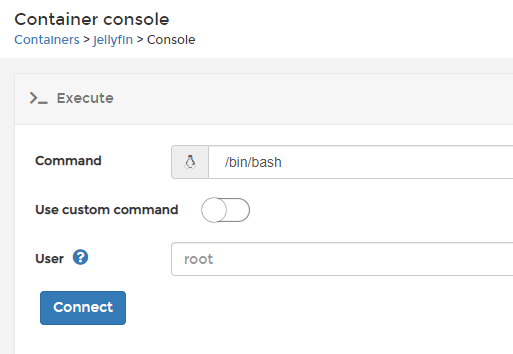
点 Connect 进入容器
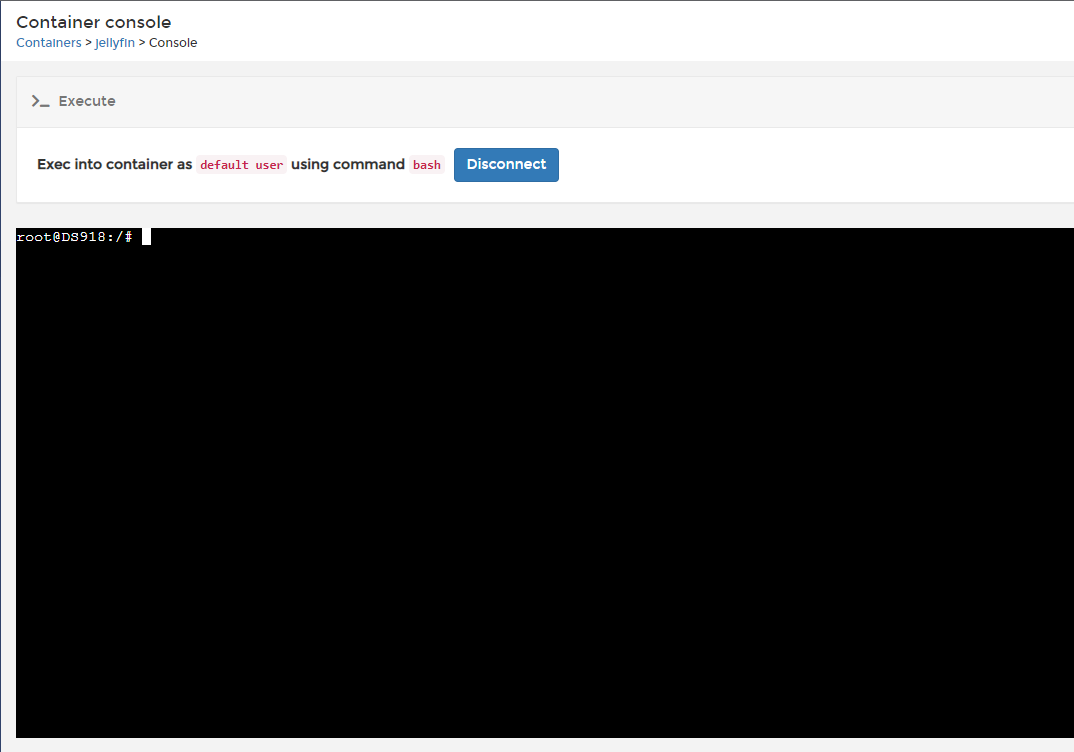
查看信息
要查看信息需要先安装相应的软件,比如 vainfo 和 lshw
1 | # 更新源 |
先查询 jellyfin 容器的相关的信息,内核是 Debian(buster)
1 | # 查看容器的内核版本 |
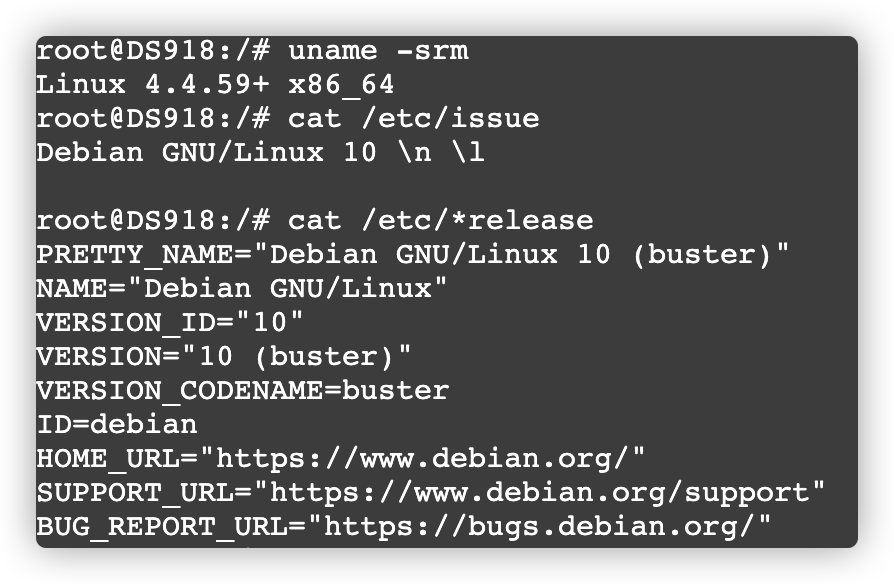
再查询下显卡信息,显卡确实是 Intel HD Graphics 5500,驱动是 i915/i965
1 | # 显卡信息 |

1 | # 设备列表 |

1 | # 显示开机信息 |
最后看看驱动,有报错
1 | # 查看 intel 驱动 |

显卡驱动
Intel Quick Sync 需要用到 Intel "non-free" 的驱动,这个 "non-free" 不是指要花钱,而是指代码是闭源的,但官方 docker 并没有安装 "non-free" 驱动
Jellyfin 永远不会将 Intel "non-free" 驱动作为其官方 docker 镜像的一部分,因为他们承诺只包含开源软件。而 Linuxserver.io 没有这样的限制,因此他们可以自行决定将 Intel "non-free" 驱动与 Jellyfin 捆绑在其 Jellyfin 容器中
从老苏的经验和阅读的参考资料看,驱动版本并不是越新越好(看到不少写降级的),其实关键还是在于
ffmpeg和驱动的相互配合和协调,只有彼此兼容的正确版本,才能发挥出作用
后面你会看到这个容器的 ffmpeg 还是 4.3.2,但最新的版本已经是 4.4.1
驱动的版本也在不断升级迭代中,所以只有测试才能发现问题,但是老苏平时也没关心这方面,所以都先用最新版吧,毕竟只是介绍过程。
老苏在这里尝试了几种方式,受限于内核 Debian(buster),驱动的版本都只能是 18.4.1+ds1-1 ,用 vainfo 看其实是失败了
尝试一(失败)
按 intel 官方文档的方法,添加的 Ubuntu 18.04 (bionic) 的源
1 | # 安装 gpg-agent、wget、curl |
装了半天什么都没有

1 | # 安装 aptitude 软件包管理器 |
用包管理器结果也是一样的

【结论】:自 2021 年 10 月 14 日起,intel 已经不再为 Ubuntu 18.04 提供更新的软件包。
尝试二(失败)
尝试将 /etc/apt/sources.list 源加上 non-free,需要先安装编辑器
1 | # 安装 vim |
原来的的 /etc/apt/sources.list 是这样的
1 | # deb http://snapshot.debian.org/archive/debian/20210902T000000Z buster main |
除了上一步添加的源之外,其他的 3 条都在 main 后面加上了 non-free
1 | # deb http://snapshot.debian.org/archive/debian/20210902T000000Z buster main |
保存之后要重新更新一下
1 | # 更新源 |
这种方式安装的驱动版本和添加下面这个源安装的版本是一样的
1 | # 这个源安装的版本为(18.4.1+ds1-1) |
安装完成后,用 vainfo 检查一下,还是有错误

【结论】:受限于内核 Debian(buster),驱动的版本只有 18.4.1+ds1-1
尝试三(成功)
和 linuxserver/jellyfin 一样,采用 Ubuntu 20.04 (focal) 做源
1 | # 更新源 |
这个源的驱动版本很多,但并不能直接安装,还需要先安装依赖包
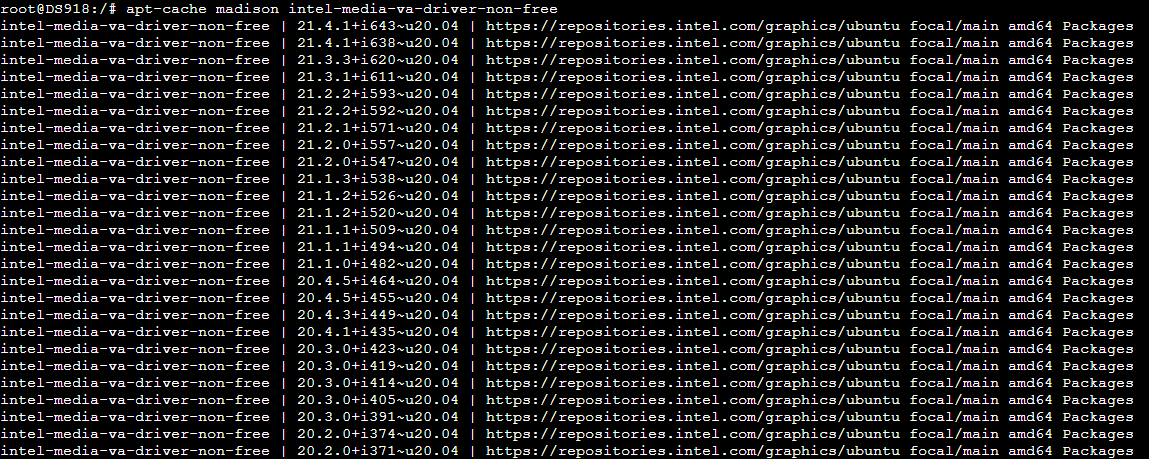
1 | # 添加 debian bullseye 源作为依赖 |
安装完成后,用 vainfo 检查一下,还是有错误

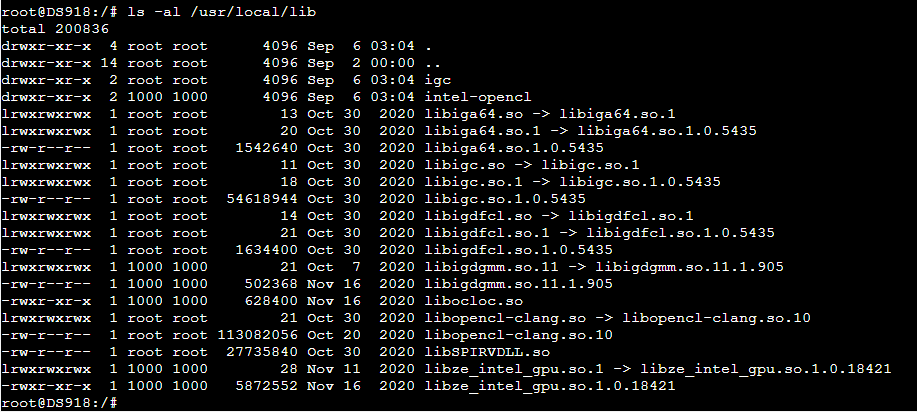
接下来这步非常关键,就是删除 libigdgmm 的副本,来自:https://github.com/intel/libva/issues/534
1 | # 非常关键的一步 |
再用 vainfo 检查,终于正常了
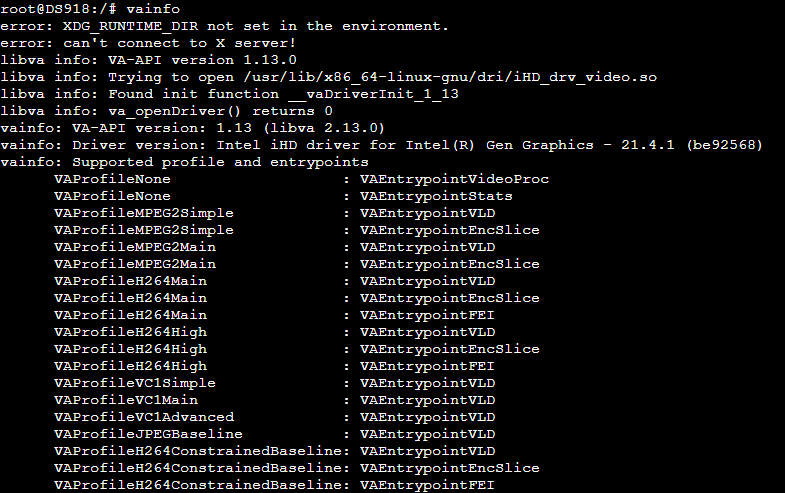
下面👇的指令暂时没用上,留着下次折腾的时候用,免得还得临时去百度
1 | # 检查可用的驱动版本 |
升级 ffmpeg
需要说明的是,这里说的
ffmpeg不是指的标准的ffmpeg,而是jellyfin-ffmpeg
查看下 jellyfin-ffmpeg 的版本
1 | # 查看 ffmpeg 版本 |
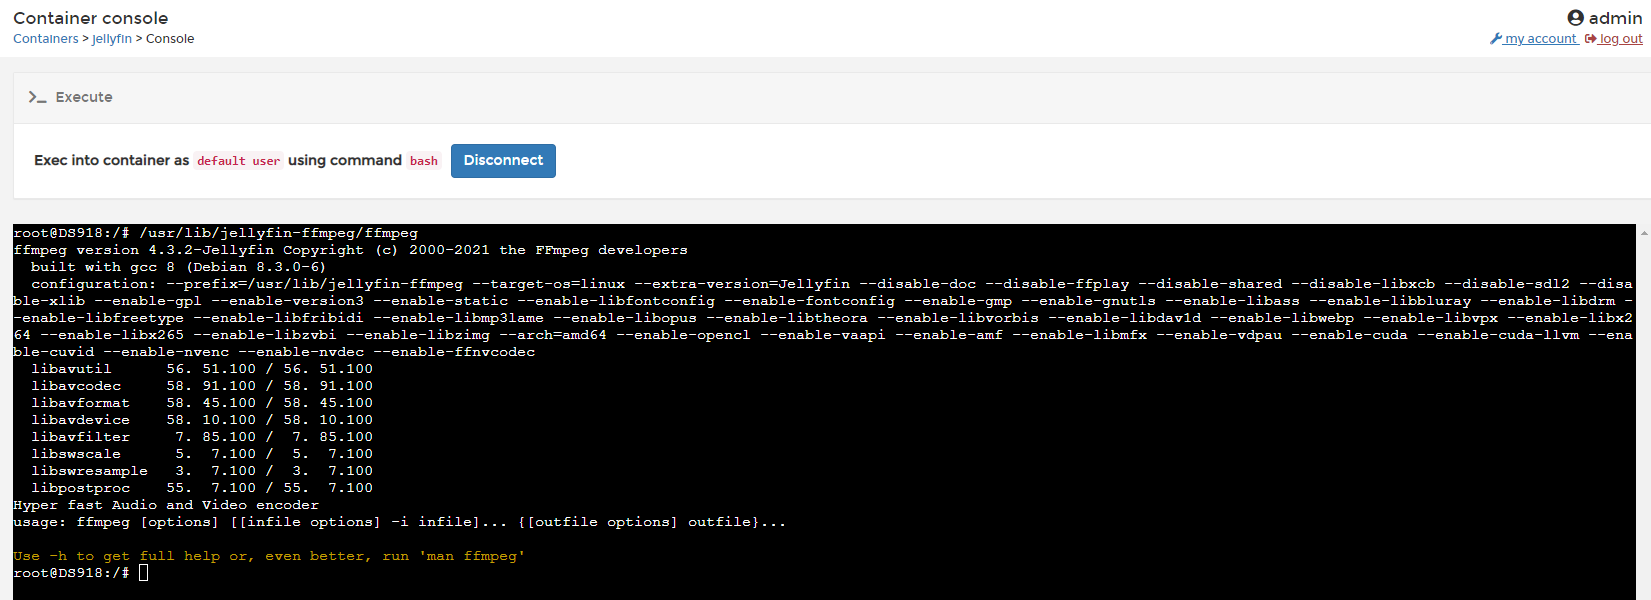
版本是 4.3.2,最新的 jellyfin-ffmpeg 是 4.4.1
1 | # 检查可用的版本 |

开始升级,两种方式都挺慢的,可以考虑在容器外下载好了再拷贝到容器中,因为在外面下可以用工具
1 | # 方法一 |
升级完成后再次查看 ffmpeg 版本

设置
进入控制台 –> 播放 –> 硬件加速 ,选择 Intel Quick Sync,测试源还是同一个 4K 视频源
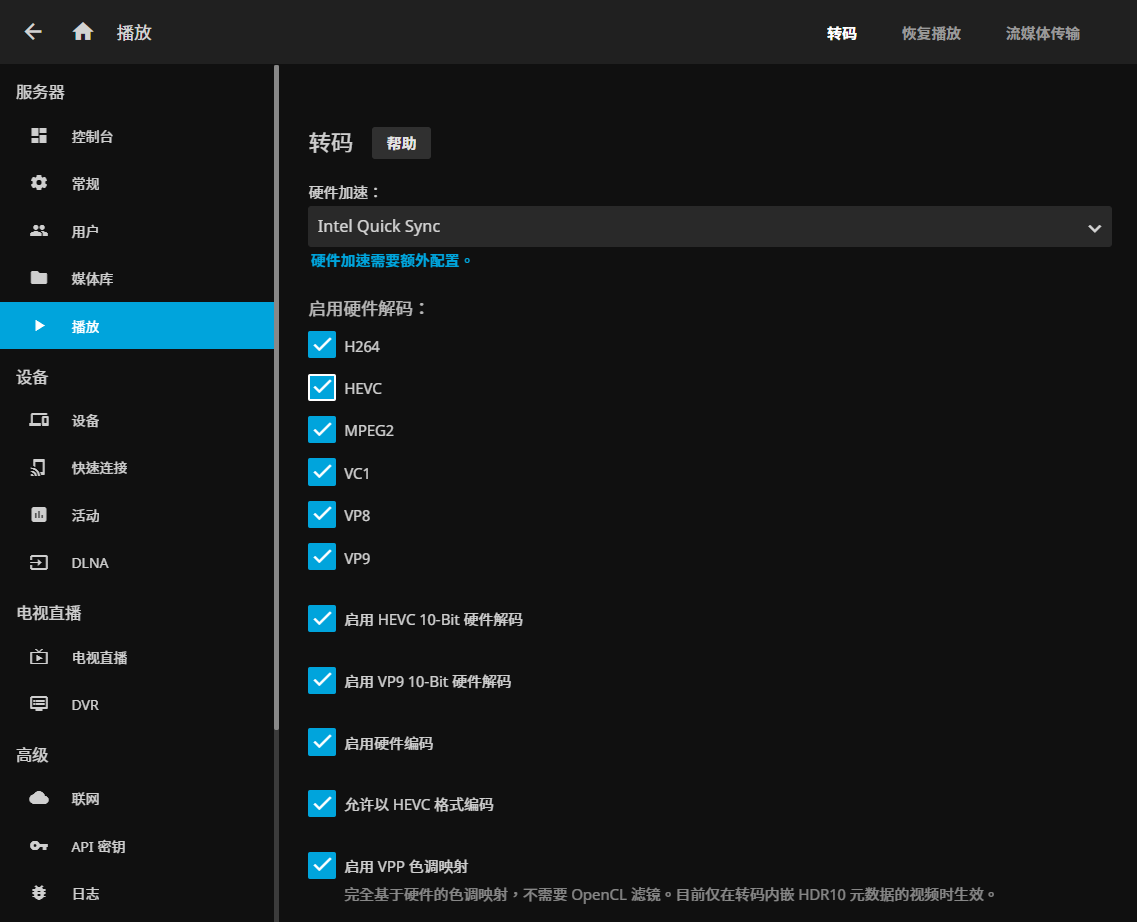
Docker 的资源占用一直维持着比较低的水平


但是转码的时间比较长,不像采用 VAAPI 几乎是即开即看,有转码文件
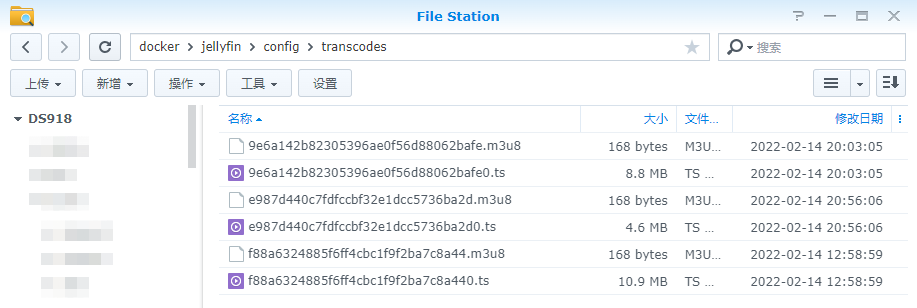
而且看着也有流,但是并不能播放

网页端的播放信息中没有视频信息
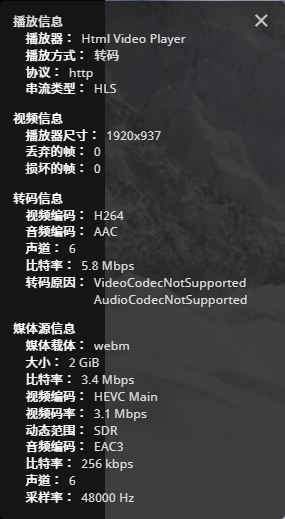
不确定是显卡不行还是驱动和 ffmpeg 不匹配导致的,暂时不想折腾了
建议
如果你是新安装,建议用 linuxserver/jellyfin 而不是 jellyfin/jellyfin,因为 jellyfin/jellyfin 装驱动太麻烦了
当然可能更好用的是 nyanmisaka/jellyfin,不过老苏暂时还没试过
参考文档
How to install Jellyfin on a Intel-based Synology docker with a working Intel Quick Sync (H/W transcoding) : jellyfin
地址:https://www.reddit.com/r/jellyfin/comments/r9k8mk/how_to_install_jellyfin_on_a_intelbased_synology/QuickSync and OpenCL not working inside Docker : jellyfin
地址:https://www.reddit.com/r/jellyfin/comments/m1ezex/quicksync_and_opencl_not_working_inside_docker/GPGPU: Ubuntu 18.04 (bionic)
地址:https://dgpu-docs.intel.com/installation-guides/ubuntu/ubuntu-bionic.htmlintel/media-driver
地址:https://github.com/intel/media-driver为 jellyfin 开启 VPP 和 openCL 色调映射_软件应用_什么值得买
地址:https://post.smzdm.com/p/ar65vrp7/Jellyfin 10.7+ 开启VPP色彩映射,核显映射速度也能上天!_服务软件_什么值得买
地址:https://post.smzdm.com/p/axlg0np3/jellyfin新选择,Nyanmisaka出品,即装即硬解!_NAS存储_什么值得买
地址:https://post.smzdm.com/p/a859320l/
